How to Declutter a Kitchen: A Step-by-Step Plan
A step-by-step plan for clearing kitchen cabinets and drawers one area at a time, with four sorting boxes, four plain questions and a dated undecided box, so the kitchen stays usable throughout.

At a glance
What you need
- Four boxes or sturdy bags
- Permanent marker
- Damp cloth
- Clear sorting surface
- Paper or towels for wrapping breakables
Full cabinets and drawers that will not close are a volume problem before they are an organizing problem. No arrangement of shelves will make room for more than the kitchen can hold, so the first job is always to reduce what is in there.
The plan below shows how to declutter a kitchen in short sessions, one area at a time, so the room stays usable for meals the whole way through. Nothing gets emptied that cannot be put back within the hour.
Set up four boxes before you open a cabinet
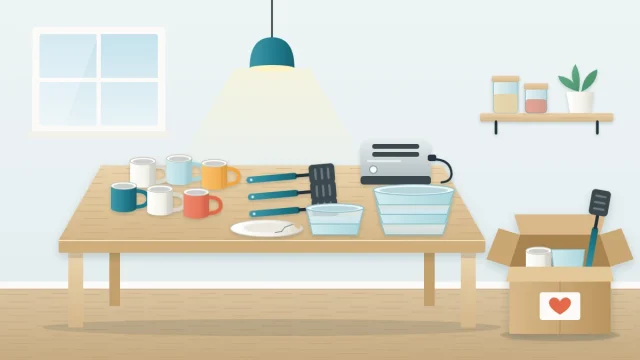
Decisions go faster when every outcome has a place to land. Gather four boxes or sturdy bags and give each one job:
- Donate: usable items you no longer need.
- Discard: broken, chipped, warped or incomplete items. Recycle what your local service accepts.
- Relocate: things that belong in another room, such as tools, batteries, mail or a flashlight.
- Undecided: anything you cannot settle within a few seconds.
Clear a stretch of counter or the kitchen table as a sorting surface, and have a damp cloth ready for the empty shelf. Wrap anything sharp or broken before it goes in a box.

Work one area at a time
An area is one drawer, one shelf or one cabinet. Finish it completely before opening the next. This matters for two reasons: the kitchen never reaches the stage where every surface is covered, and you can stop after any area without leaving a mess behind.
Emptying the entire room at once looks efficient, but it usually ends with a rushed evening of pushing everything back wherever it fits. Small finished areas add up faster than one large unfinished one.
The routine for each area
- Take everything out. All of it, including the things at the back you already know you are keeping. Seeing the space empty resets your sense of how much belongs there.
- Wipe the empty space. A quick pass with a damp cloth is enough. Let it dry before anything goes back.
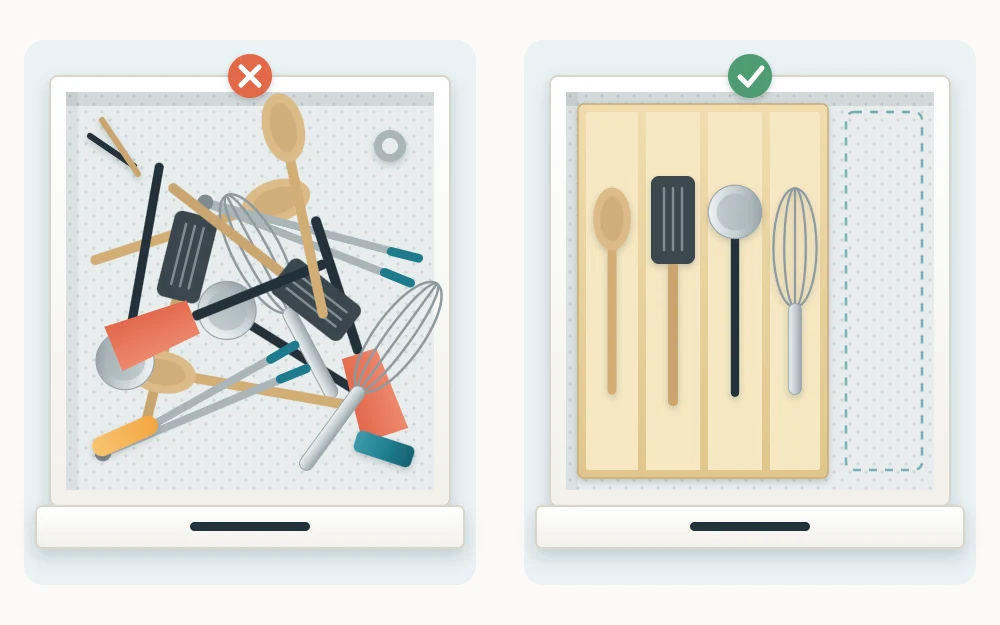
- Sort like with like. Put all the spatulas together, all the mugs together, all the food containers with their lids. Duplicates only show up once they are side by side.
- Decide item by item. Use the questions in the next section and put each item in a box or in the keep group.
- Put back only what stays. Most-used items go at the front. Leave some empty space; it is what makes putting things away easy later.
Four plain questions for each item
You do not need a philosophy to declutter a kitchen. Four questions settle nearly everything:
- Do I use it? Not “could I”, but have you, in the past year of ordinary cooking.
- Do I have another that does the same job? Keep the one you reach for and release the rest.
- Would I buy it again today? If not, its cost is already spent and keeping it does not recover the money.
- Is it broken or missing a part? A container without a lid or an appliance missing its attachment is not doing anything for you.
Occasional items can earn their place. A roasting pan used twice a year is still used; it simply does not need to live in prime space. For a category-by-category rundown of typical candidates, see the checklist of what to get rid of in the kitchen.
For packaged food you come across, follow the date and storage information on the package.
Use a dated undecided box as a pressure valve
Some items stall you: a gift, a gadget that was expensive, a set of dishes with a history. Rather than argue with yourself in front of an open cabinet, put the item in the undecided box and keep moving.
When the session ends, close the box, write the date on it and store it outside the kitchen. Pick a review point, often somewhere between one and three months. Anything you went and fetched in that time has earned a home. Whatever is still in the box at the review point has answered the question for you.
Tip
Keep the undecided box to one box. If it fills, make a few decisions to free up room before adding more.
Suggested order, from easiest to hardest
Start where decisions are least emotional and build up. This order suits most kitchens, though you can adjust it to yours:
- The countertop and the top of the refrigerator
- The catch-all drawer
- Food containers and lids
- Utensil and gadget drawers
- Mugs, glasses and water bottles
- Pots, pans and bakeware
- Small appliances
- Serving pieces, special-occasion dishes and inherited items
Take care with heavy stacks of dishes and cast iron, and carry them in small loads. Let any appliance cool and unplug it before you move or box it.
How long to allow
Times vary with how full the kitchen is, so treat these as rough ranges. A single drawer or shelf often takes fifteen to thirty minutes. A full cabinet may take closer to an hour. A whole kitchen commonly adds up to several hours of work, which is easier spread over a week or two of short sessions than packed into one day.
Stop a session at the end of an area, not in the middle of one. Three finished drawers are worth more than six half-sorted ones.
Deal with the outgoing boxes promptly
A donate box left by the door for a month becomes clutter again, and items drift back out of it. Aim to finish the job the same day or within the week: discards out with the trash or recycling, relocated items walked to their rooms, donations loaded into the car.
With the excess gone, you can decide where the remaining things should live. Planning kitchen zones comes next, followed by the shelf-by-shelf work of organizing kitchen cabinets. To keep the space from filling up again, a simple rule for stopping kitchen clutter handles what comes in from here on.
Frequently asked questions
Should I empty the whole kitchen to declutter it?
It is usually better not to. Emptying everything at once covers every surface and makes cooking difficult until the job is finished. Working through one drawer, shelf or cabinet at a time lets you stop after any session, keeps the kitchen usable and still gets the whole room done over a week or two.
What do I do with items I cannot decide about?
Put them in a single undecided box, write the date on it and store it outside the kitchen. Set a review point a month or more ahead. Items you went back for have earned a place. Items still in the box at the review point were not missed and can usually go.
Which part of the kitchen should I declutter first?
Begin with an area where decisions are easy, such as the countertop, the catch-all drawer or the food containers and lids. Quick results there build momentum. Leave sentimental categories like inherited dishes and special-occasion serving pieces until last, once you have had practice making decisions.