How to Organize Kitchen Cabinets Step by Step
An eight-step order of work for every cabinet in the kitchen: sort, assign by zone, place by weight and use, adjust shelves, and add organizers only where they solve a real problem.
At a glance
What you need
- Tape measure
- Notepad and pencil
- Donation box
- Shelf riser
- Pull-out bin or tray
- Vertical divider rack
Cabinets hold most of what a kitchen owns, so when they are disorganized the whole room feels harder to use. Plates end up far from the dishwasher, the pan you need sits under three others, and the top shelf becomes a place where things disappear.
Learning how to organize kitchen cabinets is mostly a matter of working in the right order: sort first, decide where each group lives, and only then think about organizers. The steps below take you through every cabinet, one run at a time, without emptying the whole kitchen at once.
Step 1: Empty and sort one cabinet at a time
Pick a single cabinet, or one short run of two or three, and take everything out onto the counter. Group what you find by type: plates with plates, baking dishes with baking dishes, water bottles together.
This is the moment to let go of what you do not use. If the cabinets are overfull, a first pass with the step-by-step kitchen declutter plan makes every later step easier, because no arrangement fixes a cabinet that holds too much.
Finish one cabinet before opening the next. A kitchen with one empty cabinet still works at dinner time; a kitchen with every door open and every counter covered does not.
Step 2: Assign cabinets by zone and by how often you reach in
Before anything goes back, decide what each cabinet is for. Two questions settle most of it: where is this item used, and how often?
- Everyday dishes go in the cabinet nearest the dishwasher or drying rack, so unloading takes a few steps.
- Cookware goes in a lower cabinet beside the stove.
- Glasses and mugs go near the sink or the refrigerator, wherever drinks are usually poured.
- Baking dishes, mixing bowls and prep tools go near the stretch of counter where you prepare food.
The easy-reach area, roughly between hip and eye level, is your prime space. Give it to what you use every day. Items used a few times a year can live on the highest shelf or at the back of a lower cabinet.
Step 3: Fill upper cabinets with lighter items
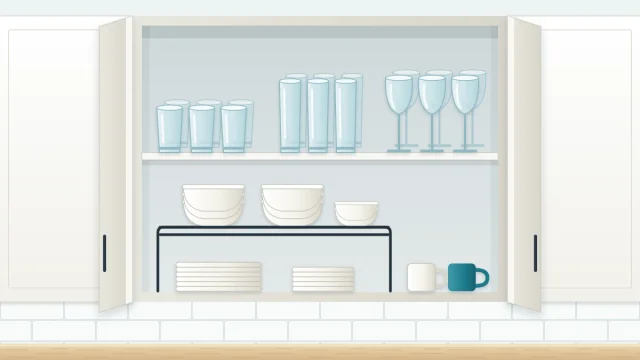
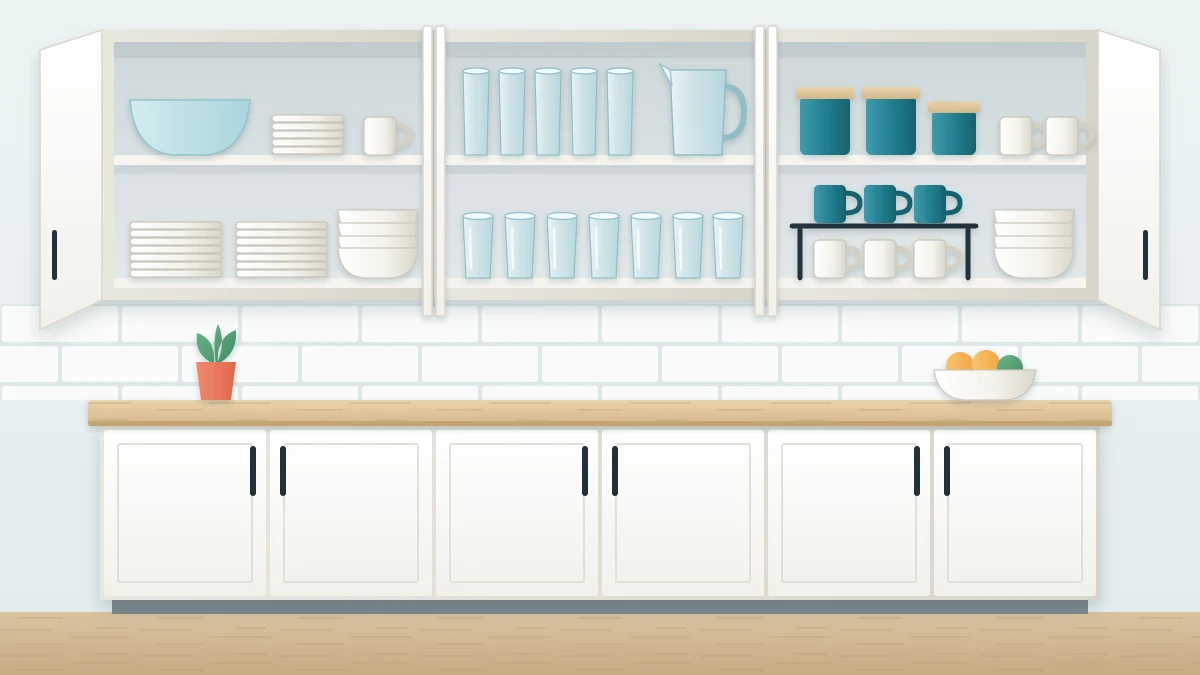
Upper cabinets suit lighter things that you lift down often. Put daily items on the lowest shelf, less-used pieces on the middle shelf, and occasional items at the top.
Keep each type in its own row or stack so nothing has to be moved to reach something else. The guide on arranging dishes and glasses in a cabinet covers stack heights, rows and mugs in detail.
Step 4: Give lower cabinets the heavy and bulky things
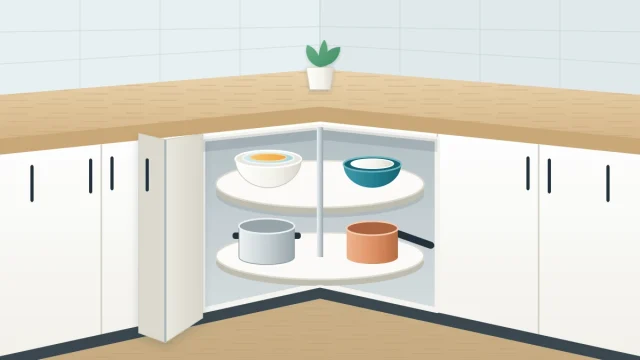
Lower cabinets are the place for weight and bulk: pots, cast iron, mixing bowls, large serving dishes and small appliances. Heavy things are easier to lift from below the waist than from above the shoulder, and less can go wrong if one slips.
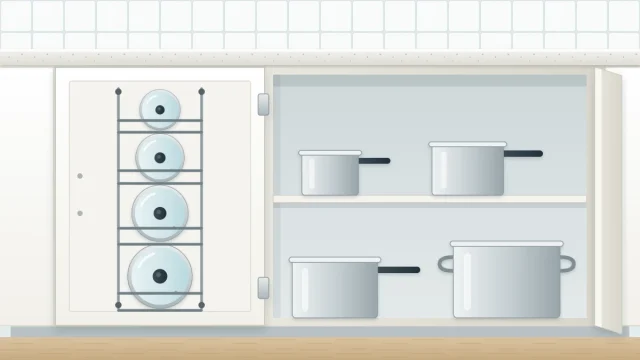
Deep lower shelves hide whatever sits at the back, so keep the front for what you use weekly. Cookware has its own set of options, described in the guide to storing pots and pans in a cabinet.
Good to know
Shelves, shelf pins and add-on organizers all have limits. Stacks of dishes and cast iron are heavy, so keep them low, and check the cabinet maker’s or product’s stated limit rather than guessing.
Step 5: Adjust the shelf heights
Many cabinets have movable shelves resting on small pins in a row of holes. If yours do, move them so each shelf sits a little above the stack below it, with just enough room to lift an item out.
A large gap of empty air above short stacks is wasted storage. Closing that gap on one shelf often frees enough height elsewhere for tall items such as pitchers. If the shelves are fixed, skip to the next step.
Step 6: Measure, then add organizers only where they solve a problem
Live with the sorted cabinet for a moment and look for real problems: a tall space with one short stack, a deep shelf where things get lost, flat items sliding over each other. Each problem has a matching type of organizer.
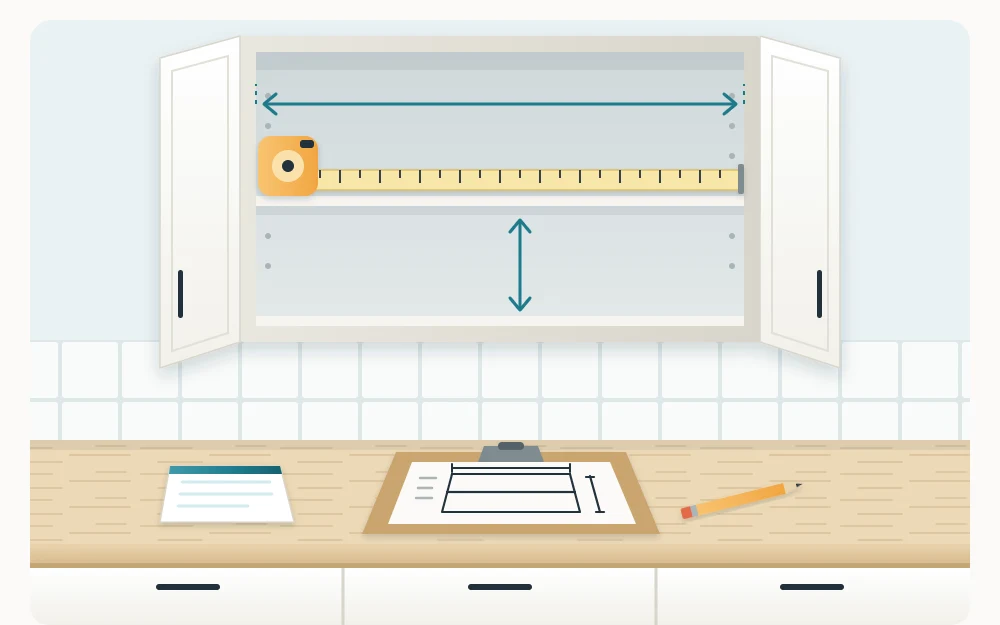
Before buying anything, measure the inside of the cabinet: width between the side walls or face frame, depth from the back wall to the inside of the closed door, and the height between shelves. Check the door clearance too, since hinges and the frame can narrow the opening.
| Problem | Organizer type | Check first |
|---|---|---|
| Tall shelf space, short stacks | Shelf riser | Height left above and below |
| Deep lower shelf | Pull-out bin or tray | Door opening width and hinges |
| Baking sheets and cutting boards in a pile | Vertical dividers | Shelf height for the tallest item |
| Bottles hidden behind bottles | Turntable, often called a lazy Susan | Shelf depth and corner space |
| Small light items with no home | Door rack | Door still closes past the shelves |
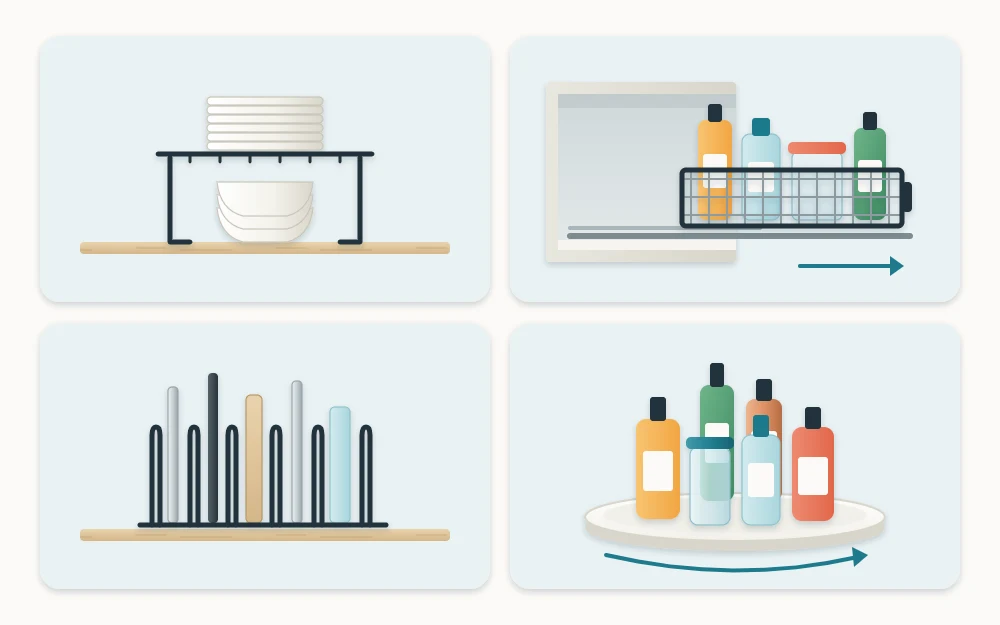
Follow each product’s instructions for fitting and for what it is meant to hold. An organizer that does not fix a specific problem only takes up room.
Step 7: Leave slack on every shelf
A shelf packed edge to edge works only on the day you finish. Leave a little open space on each one, enough for a new mug or an extra bowl, so items can go back without rearranging the rest.
If a shelf will not close up without cramming, that is a sign the category is too big for its home. Move the least-used pieces to a higher shelf or out of the kitchen.
Step 8: Live with it for two weeks, then adjust
Use the kitchen normally and notice where you hesitate. If you keep opening the wrong door for the colander, its home is in the wrong place; move it to where your hand went first.
Once the layout has settled, a few discreet labels on shelf edges or bins help everyone else in the household return things correctly. The guide on labeling kitchen storage explains where labels help and where they are not needed.
Frequently asked questions
Should I empty all the kitchen cabinets at once?
In most homes it works better to empty one cabinet or one short run at a time. The kitchen stays usable for meals, the counters do not fill up, and you can stop after any cabinet without leaving a mess. Finish and refill each one before opening the next.
What should go in upper cabinets versus lower cabinets?
As a starting point, upper cabinets take lighter things you lift down often, such as everyday plates, bowls, glasses and mugs. Lower cabinets take heavy and bulky items such as pots, cast iron, mixing bowls and small appliances. Keep the most-used items at the front and on the easiest shelves to reach.
Do I need to buy organizers for my cabinets?
Not necessarily. Sorting, assigning cabinets by use and adjusting shelf heights solve many problems without any products. Add an organizer only when a specific problem remains, such as a deep shelf where items get lost, and measure the inside of the cabinet and the door opening before you buy.