How to Label Kitchen Storage: Shelves, Bins and Drawers
A small project that helps a whole household put things back: what deserves a label, how to word it so it stays true, which label method suits each surface and where to place it.
At a glance
What you need
- Label maker or removable adhesive labels
- Permanent or chalk marker
- Clip-on bin labels
- Tags and string for baskets
- Dry cloth
A kitchen can be well organized and still fall apart within a month if you are the only person who knows where things go. Everyone else guesses, and each wrong guess puts the lunch boxes in with the mixing bowls.
Learning how to label kitchen storage is a small project that fixes that. A label is a reminder of a decision already made: this bin holds this kind of thing. It will not organize anything for you, but it keeps a good layout readable for the whole household.
What needs a label and what does not
Labels help most where the contents or the rule are not visible. That usually means:
- Shared kitchens, where several people unload the dishwasher and put groceries away.
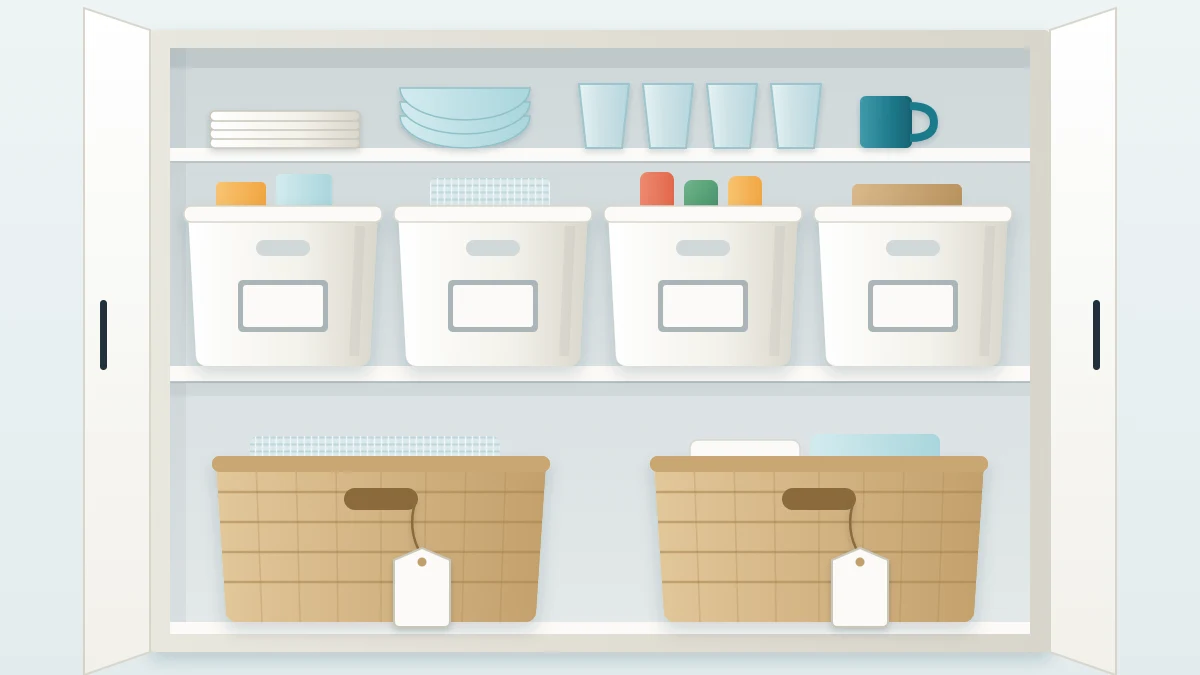
- Opaque bins and baskets, which hide what is inside.
- High shelves and deep cabinets, where you cannot see in without a step stool or a crouch.
- Anything decanted out of its original package into another container.
Things that are obvious on sight need nothing. A stack of dinner plates, a row of glasses or a crock of spatulas explains itself, and labeling it adds visual noise without adding information. Aim for a handful of useful labels, not one on every surface.
Step-by-step: labeling a kitchen
- Finish organizing first. Labels come last. Settle where things live, then use the layout for a week or two before labeling anything, because the first arrangement nearly always shifts. If a cabinet still feels wrong, work through the guide to organizing kitchen cabinets before you fix its contents in writing.
- List the trouble spots. During that trial period, notice where people ask “where does this go?” and where items keep landing in the wrong place. Write those spots down. They are your labeling list, and it is often shorter than expected.
- Choose the wording. Decide what each label will say, using the guidance in the next section.
- Choose a method for each surface. Smooth bins, woven baskets and shelf edges each suit a different kind of label; the table below compares them.
- Prepare the surface and place the labels. Make sure the surface is clean and fully dry so the label sticks. Put each label at the same height and position on every container, facing front, so the eye finds it in the same place each time.
- Handle decanted products with extra care. If something has been moved out of its original package, also keep or copy the product name and any date or instructions from that package. A cut-out panel taped to the back or tucked inside works well.
Choosing words that stay true
The most common labeling mistake is being too specific. A label naming one exact item is wrong the day you buy something slightly different, and a wrong label is worse than none because people stop trusting the rest.
Use broad category names that describe the bin’s job instead: “Baking tools”, “Lunch boxes”, “Dish towels”, “Water bottles”, “Party supplies”. These stay accurate as the contents change.
A few more points on wording:
- Use the word your household really says. If everyone calls them “tubs”, the label says “Tubs”.
- Keep it to one to three words so it can be read from across the room.
- If a bin needs two unrelated categories on its label, it probably needs to be two bins.
A baking area is a good place to practice, since it gathers many small things into a few containers. The guide on organizing baking supplies describes the bins that benefit from a label.
Picking a label method for each surface
No single label type suits every surface. Match the method to what you are labeling.
| Method | Works on | Keep in mind |
|---|---|---|
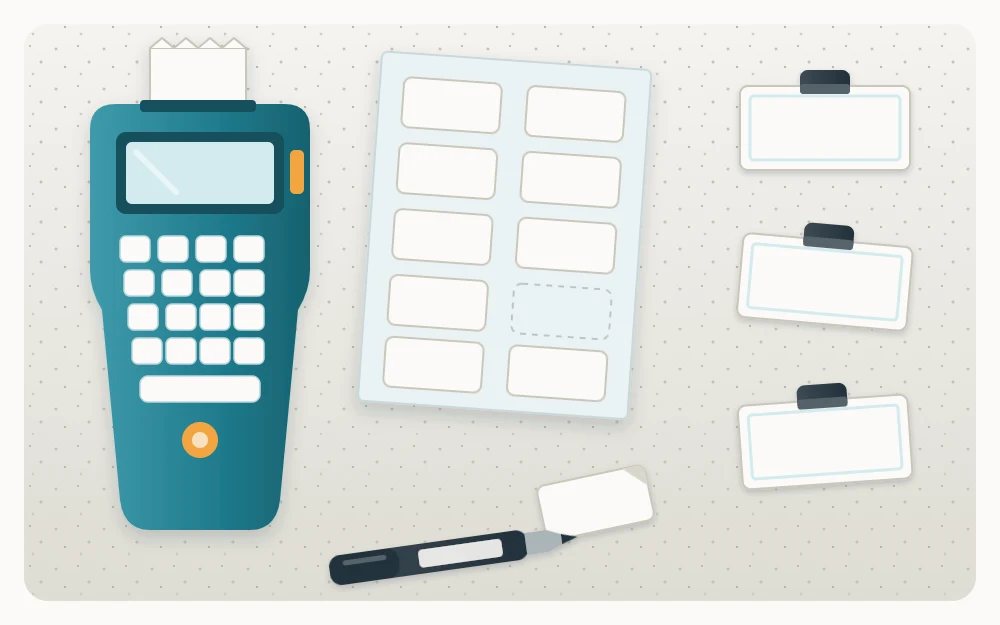
| Label maker tape | Smooth plastic, glass, metal | Neat and uniform; needs tape refills |
| Removable adhesive labels with a permanent or chalk marker | Smooth bins and jars | Easy to rewrite; chalk marker can smudge |
| Clip-on bin labels | Bins and baskets with a rim | Move from bin to bin; nothing to peel |
| Tags tied to handles | Woven baskets, fabric bins | Good where adhesive will not hold |
| Shelf-edge labels | The shelf, not the container | Marks the home when items sit loose |
Shelf-edge labels deserve a second look. When items are not in a bin at all, such as stacks of bowls or a row of jars, labeling the shelf edge under them marks the home without sticking anything to the items themselves.

Tip
Choose removable over permanent wherever you can. Kitchens change with seasons, new habits and new household members, and a label that peels off cleanly or clips to another bin makes it easy to update the system.
Placement and consistency
A consistent look does real work, because uniform labels are faster to scan. Pick one method per type of container, one color of marker or tape and one style of lettering, and keep to it.
Place labels where they will be seen from a normal standing position. On a high shelf, that means low on the front of the bin. On a low shelf or in a deep drawer, the top edge or the lid is often easier to read. For bins that sit side by side, line the labels up.
If you use a marker on a surface directly, test it somewhere hidden first; some inks do not come off certain plastics.
Options for young children
Children who cannot read yet can still put things away if the label is a picture. A simple drawing or a printed image of a cup, a snack or a lunch box on a low bin tells them what goes there.
Color dots are another option: one color per child for cups and water bottles, or one color per category. Keep the scheme simple enough that an adult can remember it too.
Keeping labels honest
A labeling system is only useful while it is true. When a bin’s job changes, change its label the same day. When a label keeps being ignored, treat that as information: the home may be in the wrong place, too full or too hard to reach.
A quick look at the labels fits well into a seasonal review. The guide on keeping a kitchen organized covers the habits that hold a layout in place.
Frequently asked questions
What should you label in a kitchen?
Label the places where contents or rules are not visible: opaque bins and baskets, high shelves, deep cabinets, decanted products and any spot that people in the household keep getting wrong. Things that are obvious on sight, such as stacks of plates or rows of glasses, do not need one.
What is the best way to label kitchen bins?
It depends on the surface. Label maker tape or removable adhesive labels suit smooth plastic and glass, clip-on labels suit bins with a rim, and tied tags suit woven baskets where adhesive will not hold. Removable options are usually the better choice, because storage systems change over time.
Should labels be specific or general?
General is usually better. A broad category name such as "Baking tools" or "Lunch boxes" stays accurate when the exact contents change, while a label naming one specific item goes out of date quickly. Use the words your household actually says, and keep each label to a few words.