How to Organize Kitchen Drawers Step by Step
Seven steps to drawers that each have one clear job: sort, assign by location, measure the inside of the box, divide the space, and keep sharp tools covered.
At a glance
What you need
- Tape measure
- Notepad and pencil
- Cutlery tray
- Adjustable drawer dividers
- Small bins
- Non-slip drawer liner
- Blade guards or in-drawer knife holder
A kitchen drawer goes wrong quietly. It starts with cutlery, gains a peeler and a few bag clips, and within months you are stirring through it with one hand looking for the can opener.
The fix is to give every drawer one clear job and then divide the space inside so items cannot drift. This guide on how to organize kitchen drawers works through that in seven steps, one drawer at a time, so the kitchen stays usable while you go.
Step 1: Empty one drawer and sort by type
Pull one drawer out fully, or as far as it goes, and move everything onto the counter. Sort it into groups: eating cutlery, cooking tools, prep tools, sharp things, and the odds and ends that belong somewhere else entirely.
Set aside duplicates you never reach for, broken tools and anything you cannot name a use for. Wipe out the crumbs while the drawer is empty, then leave it empty until you have decided what it is for.
Step 2: Give each drawer one job based on where it is
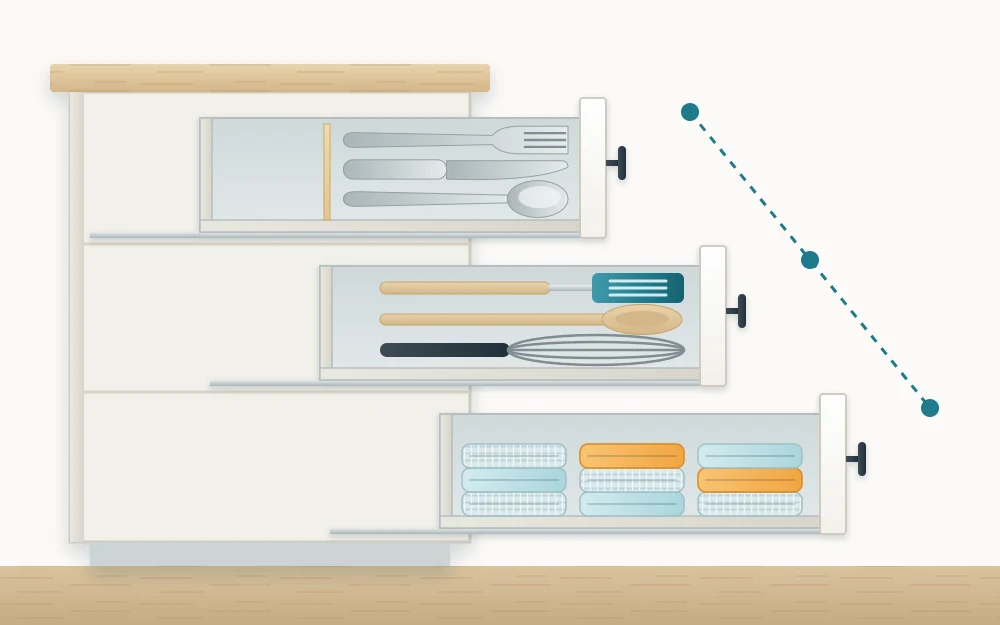
A drawer’s location decides its contents. The aim is that you can open one drawer and find everything for the task you are doing at that spot.
- Cutlery near the dishwasher or the table, so unloading and setting places are both short trips.
- Cooking tools such as spatulas, tongs and ladles in the drawer beside the stove.
- Prep tools such as peelers, graters and measuring spoons beside the main prep counter.
- Dish towels and cloths near the sink.
- Wraps, foil and bags together in one drawer, wherever you pack leftovers.
If you have more tools than drawer space, the guide to organizing kitchen utensils explains how to split them between a drawer and a crock.
Loose batteries, pens, tape and takeout menus are a separate category. Give them a single small drawer with its own rules, as described in the guide to setting up a junk drawer that stays usable, and keep them out of the others.
Step 3: Measure the inside of the drawer box
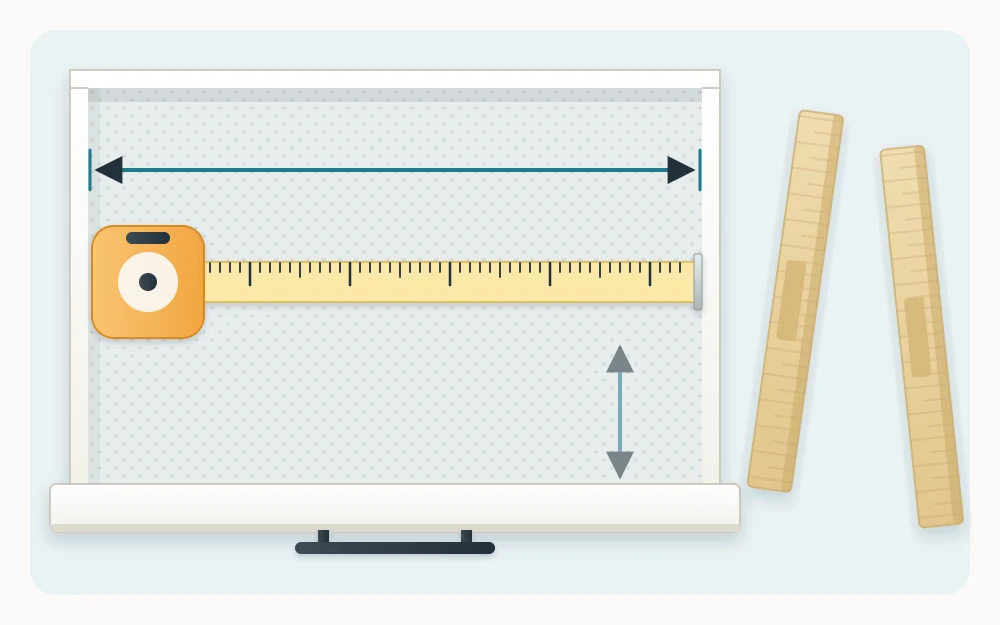
Measure the inside of the box, not the decorative front, which is usually wider and taller than the space behind it. You need three numbers:
- Width between the inner side walls.
- Depth from the inside of the front to the inside of the back.
- Height from the drawer floor to the top edge of the sides, or to the cabinet frame above if that sits lower.
Write the numbers down and take them with you when you shop. Drawer sizes vary between cabinet makers, and a tray that is even slightly too wide will not go in.
Step 4: Divide the space
An undivided drawer mixes itself every time it is opened and shut. Dividers give each group a lane and make it obvious where something goes back.
| Divider type | Suits | Check |
|---|---|---|
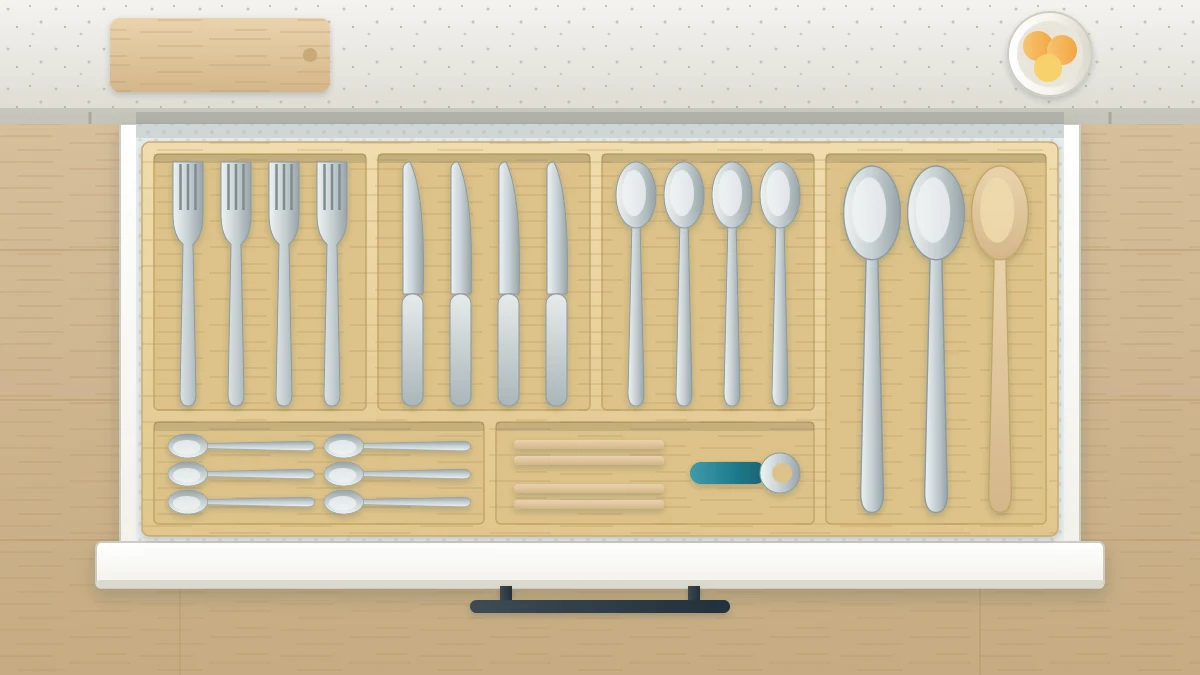
| Cutlery tray | Forks, knives, spoons | Lane length against your longest piece |
| Adjustable or expandable drawer dividers | Cooking tools of mixed lengths | The range they extend across |
| Small open bins | Bag clips, corn holders, loose small items | Bin height against drawer height |
Whatever you choose should fit snugly. A tray with a gap around it slides backward when the drawer closes, and small things fall down the side. A non-slip liner cut to the drawer floor helps keep trays and bins in place.
If nothing off the shelf fits an odd-sized drawer, you can make your own; the DIY drawer dividers project walks through it.
Step 5: Lay items in a single layer
Where the drawer allows it, keep everything one layer deep so each item is visible the moment the drawer opens. Stacked tools hide each other and tangle.
Turn handles the same way, toward the front or toward your stronger hand. Put what you use most at the front of the drawer and the occasional tools at the back, where reaching them takes a longer pull.
Tip
If one layer is not enough, the drawer has too many items for its job. Move the least-used tools to another home before adding a second tier.
Step 6: Cover sharp edges
Knives, peelers with exposed blades, and loose blades for graters or slicers should never lie loose among other tools. Keep knife blades covered with blade guards, or store them in an in-drawer knife holder that keeps each edge down and separate.
The goal is simple: nobody reaching into the drawer should be able to put a hand on an edge. Give sharp tools their own section, and tell everyone in the household where it is.
Step 7: Do not overfill
A drawer is full when it closes without you pressing anything down. If a ladle catches on the frame or the drawer needs a shove, something has to move out.
Leave a little slack in each section as well. New tools arrive over time, and a drawer with no spare room is the first to slide back into a jumble.
Shallow drawers versus deep drawers
Shallow drawers are best for flat items in a single layer: cutlery, tools, wraps and towels folded to stand on edge. They are the easiest drawers to keep in order because nothing can be buried.
Deep drawers work differently. They suit pots, mixing bowls, food containers and stacks of dishes, and they need upright dividers or pegs to stop things from toppling. Remember that full deep drawers get heavy, so check the cabinet maker’s stated limit for the slides. The guide to organizing deep kitchen drawers covers those methods on their own.
Frequently asked questions
What should go in the top kitchen drawer?
Usually whatever is used most at that spot. Beside the dishwasher or table, the top drawer often suits everyday cutlery; beside the stove, cooking tools; beside the prep counter, peelers and measuring spoons. Let the drawer's location decide, since kitchens and households differ.
How do I stop drawer organizers from sliding around?
Choose trays and dividers that fit the inside width and depth of the drawer box closely, so there is no gap to slide into. Expandable dividers press against the drawer walls, and a non-slip liner under a tray or bins adds grip. Measure before buying rather than estimating.
Can I keep knives in a kitchen drawer?
Yes, as long as the blades are never loose. Use an in-drawer knife holder that keeps each edge down and separated, or fit a blade guard on every knife. Give sharp tools their own section so nobody reaching for something else touches an edge.