Small Kitchen Organization: Making Limited Space Work
An eight-part strategy for a small kitchen, in order of effect: own less, move bulky items out, put prime space to work, use height and walls, and keep the counter free for cooking.

A small kitchen does not forgive much. One extra appliance on the counter and there is nowhere to chop; one overfilled cabinet and every meal starts with unstacking. Buying more organizers rarely fixes it, because the problem is the ratio of things to space.
Small kitchen organization works best as a strategy, taken in order of effect. The first steps below cost nothing and change the most. The later ones add storage, but only once the earlier ones are done.
1. Own less in the kitchen
This is the single biggest gain, and no product replaces it. A small kitchen can hold what a normal week of cooking needs. It struggles to hold a second set of mixing bowls, a dozen spare mugs and the gadgets bought for one recipe.
Go cabinet by cabinet and keep what you used in the last few weeks, plus the few seasonal pieces you truly bring out. The step-by-step method is in the guide on how to declutter a kitchen; do that before anything else here.
2. Move rarely used and bulky items out
Not everything used for cooking has to live in the kitchen. A roasting pan used twice a year, a large stockpot, a cake stand, the slow cooker that comes out in winter: these can sit in a hall closet, on a high shelf in another room or in a lidded bin under a bed.
The test is frequency. If fetching an item from another room a few times a year is a small cost, the space it frees every day is worth more. Bulk backstock of paper goods and extra dish soap can move out the same way.
3. Give prime space to daily items
Prime space is the easy-reach area: roughly between knee and shoulder height, at the front of shelves and in the top drawers. In a small kitchen there is very little of it, so it should hold only what you use every day.
Everyday plates, glasses, the two pans you cook with most, the knives and the cutting board go here. Things used weekly go higher, lower or further back. Things used monthly go to the hardest spots.
Standard advice is to arrange a kitchen in zones for prep, cooking and washing up. That still applies, but expect compromises: zones overlap in a small room, and one cabinet may have to hold two. The guide to kitchen zones explains the idea, and you can scale it down to fit.
4. Use the height inside every cabinet
Most cabinet shelves are set far apart, which leaves empty air above short stacks. Shelf risers, under-shelf baskets and upright dividers for trays and boards turn that air into levels you can use, without stacking unlike things on top of each other.
Measure the inside of each cabinet first; sizes vary, and a riser that almost fits is wasted.
5. Use walls, doors and cabinet sides
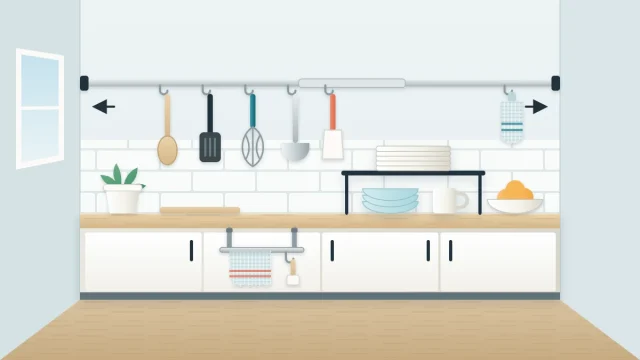
When the cabinets are working fully, look at the flat surfaces. A rail with hooks, a properly mounted magnetic knife strip, a rack on the inside of a cabinet door or a hook on the side of an end cabinet each free a little shelf or drawer space.
Keep rails and shelves to the side of the cooktop, not directly over the burners, and follow each product’s fixing instructions and stated limit. The full range of options is covered in the guide to vertical kitchen storage.
6. Choose items that nest, stack or do two jobs
When something needs replacing, let the size of the kitchen guide the choice.
- Mixing bowls and measuring cups that nest into one stack
- Food containers in one or two shapes that share lids and stack neatly
- A pan with a lid that also fits another pan
- A colander that sits over the sink rather than needing counter space
- One good multipurpose tool in place of three single-use gadgets
There is no need to replace everything at once. Use the rule as things wear out.
7. Keep the counters as clear as possible
In a small kitchen the counter is the only workspace, so every item parked on it has a direct cost. Aim to leave out only what is used daily, such as a coffee maker or a kettle, and give everything else a home behind a door.
Where the setup allows, you can add prep area instead of storage. A cutting board made to sit over the sink bridges the basin while you chop. Some kitchens have a pull-out surface below the counter, or room for a sturdy board over a drawer. Check that any board sits flat and steady before working on it.
Tip
Clear the counter fully each evening for one week. Anything you did not need to bring back out during that week is a candidate for a cabinet, or for leaving the kitchen altogether.
8. Add a cart or narrow shelf unit if the floor allows
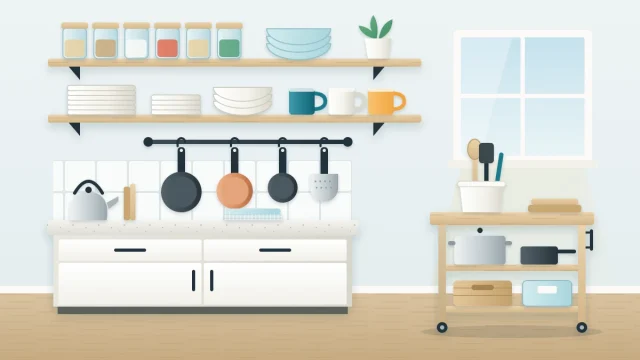
If there is a strip of free floor, a slim rolling cart or a narrow shelf unit adds storage without building anything. A cart can also be rolled out as an extra surface and tucked away again.
Position it with care: away from the swing of the oven door, clear of the cooktop and out of the main walking path. Put heavier items on the lowest tier, and secure any tall freestanding unit against tipping as its maker describes. If the kitchen has very few cabinets to begin with, the guide for a kitchen with little cabinet space goes further into freestanding options.

What not to do
A few habits make a small kitchen harder to use, even when everything technically fits.
- Overfilling. A cabinet packed to the door hides its contents and things fall out. Leave a little slack on every shelf.
- Blocking vents or doors. Keep appliance vents clear and make sure the oven, dishwasher and fridge doors open fully. Follow each appliance manufacturer’s instructions for clearances.
- Stacking too high. If getting the bottom item out is a job, you will stop using it or stop putting things back.
- Storing heavy things high. Cast iron and stacks of dishes belong low.
A small kitchen that holds a little less than it could is easier to cook in than one filled to its limit.
Frequently asked questions
What is the first thing to do when organizing a small kitchen?
Reduce what the kitchen has to hold. Go through each cabinet and keep what a normal week of cooking needs, then move rarely used and bulky pieces to storage elsewhere in the home. Organizers work far better once the amount of stuff matches the space.
How do I get more counter space in a small kitchen?
Start by removing what sits on the counter without being used daily. Then look for added surface where your setup allows it, such as a cutting board made to sit over the sink or a rolling cart that can be pulled out while cooking and tucked away afterward.
Is a rolling cart a good idea in a small kitchen?
It can be, if there is free floor that is not part of the main walking path. Choose a slim cart, keep it away from the oven door swing and the cooktop, and put heavier items on the lowest tier. If it blocks movement, it costs more than it gives.